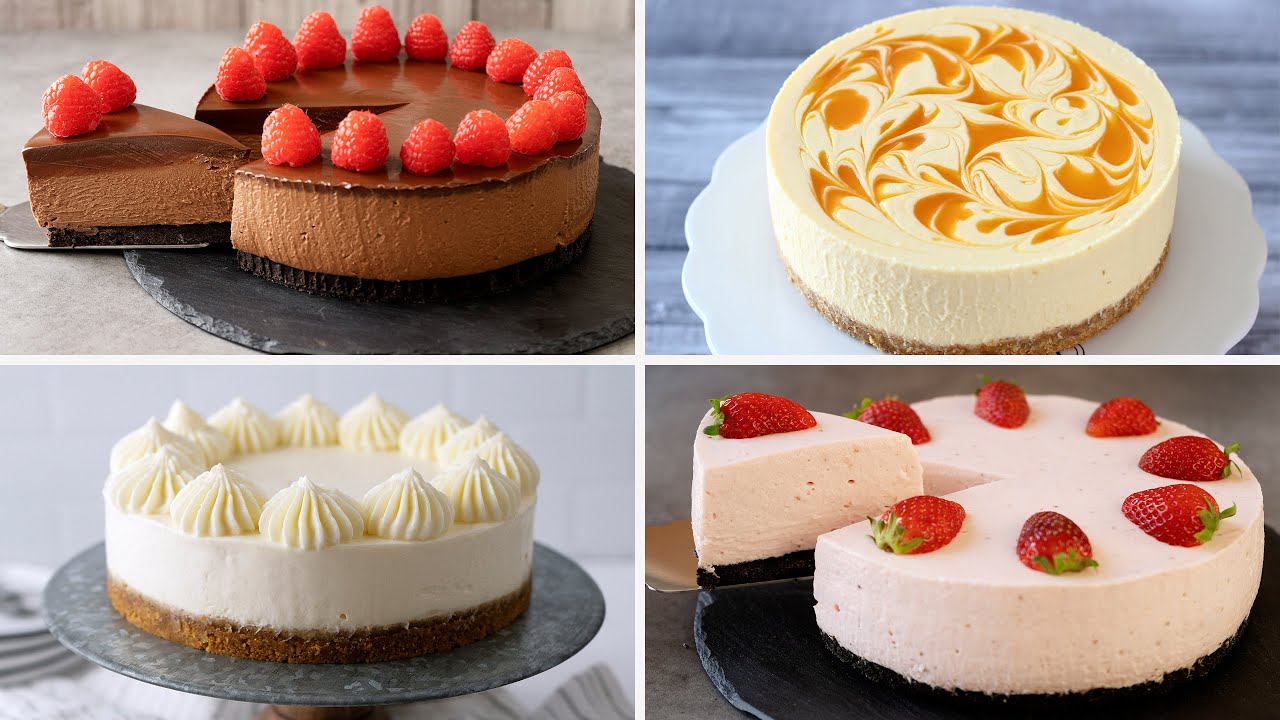
The Ultimate No Oven, No Worries: Decadent Chocolate Wafer Cheesecake
Imagine a dessert so rich, so creamy, and so utterly delicious that it tastes like it came from a gourmet bakery, yet requires absolutely no baking whatsoever. Sound like a dream? It’s a delectable reality with our comprehensive guide to a truly decadent no bake chocolate wafer cheesecake recipe. Perfect for beginners and seasoned dessert lovers alike, this recipe removes all the stress of traditional cheesecakes, delivering pure, unadulterated indulgence with minimal effort.
Whether you're looking to impress guests, satisfy a sudden craving, or simply need a spectacular dessert that won't heat up your kitchen, this chocolate wafer cheesecake is your answer. It combines the velvety smooth texture of classic cheesecake with delightful layers of crisp chocolate wafers, creating a symphony of flavors and textures that will leave everyone asking for more. Forget the oven, the water baths, and the worry of cracks – get ready to embrace the effortless elegance of this show-stopping, no-bake creation.
The Allure of No-Bake: Decadence Without the Drama
For many home bakers, the word "cheesecake" conjures images of precision, delicate water baths, and the dreaded fear of a cracked surface. Traditional cheesecakes, while undeniably delicious, can be intimidating. This is where the magic of a no-bake cheesecake truly shines. It offers all the luxurious taste and creamy texture you crave, but without any of the common pitfalls.
The beauty of a
no bake chocolate wafer cheesecake recipe lies in its simplicity. You bypass the oven entirely, which means:
- No Cracking Worries: The most common headache for cheesecake bakers is avoided. Your surface will remain perfectly smooth.
- No Water Bath Hassle: Forget the tedious setup and potential for water seeping into your pan.
- Cool Kitchen, Cool Dessert: Especially during warmer months, keeping the oven off is a huge bonus.
- Beginner-Friendly: If you're new to dessert making, this recipe builds confidence without sacrificing wow-factor.
- Time-Saving: While freezing takes a bit, the active prep time is incredibly short, often less than 15 minutes.
This particular iteration, incorporating crisp chocolate wafers, adds another layer of intrigue and texture that sets it apart. It’s a dessert that not only tastes incredible but also looks stunning, making it a guaranteed crowd-pleaser for any occasion.
Crafting Your Chocolate Wafer Masterpiece: A Step-by-Step Guide
The genius of this
no bake chocolate wafer cheesecake recipe lies in its clever construction and simple ingredients. Let's break down the process into manageable steps, ensuring your success from start to finish.
Setting the Foundation: The Foil Sling
The key to easily transferring and serving your cheesecake lies in creating a robust foil sling. This simple technique ensures your beautiful creation lifts cleanly from your baking sheet to your serving plate without fuss.
- Begin by tearing off a generous 30-inch length of heavy-duty aluminum foil. Lay it lengthwise across a baking sheet.
- Take a second 30-inch piece and place it perpendicular to the first, forming a sturdy "+" shape. The overhang is essential.
- On the top layer of foil, use an 8-inch cake pan or plate as a guide to lightly mark an 8-inch circle. This will be your guide for shaping the cheesecake. Set the baking sheet aside.
This method is crucial for handling the delicate structure once it's frozen, allowing you to easily transfer it without damaging the layers.
Whipping Up the Silky Smooth Filling
The heart of any cheesecake is its filling, and for this no-bake version, achieving a light, airy, yet firm texture is paramount.
- Ensure your cream cheese is at room temperature (though starting with it slightly cold can sometimes help prevent over-whipping), and crucially, use a very large, *cold* mixing bowl. Chilling your beaters for a few minutes can also help.
- Add the softened cream cheese to the cold bowl and whip it vigorously with an electric mixer until it's completely smooth and fluffy. This aeration is key.
- Gradually add 6 tablespoons of confectioners' sugar and a generous splash of vanilla extract (pure vanilla is always best!). Continue whipping until everything is well combined and the mixture is silky.
- Now, the magic ingredient: slowly pour in your cold whipping cream as you continue to whip. Keep beating until the entire mixture transforms into a light, fluffy, and firm consistency that holds stiff peaks. This indicates it’s stable enough to hold its shape. Be careful not to over-whip, which can cause the mixture to separate.
The goal here is a perfectly stable, rich, yet ethereal filling that will set beautifully in the freezer.
The Art of Layering: Wafers and Creamy Bliss
This is where your cheesecake truly comes to life, building a striking visual and textural masterpiece.
- For precision and a clean look, consider transferring your cheesecake mixture to a piping bag fitted with a large star tip (like a 1M). However, a spoon or offset spatula works perfectly fine for spreading.
- Starting on your marked 8-inch circle on the foil, pipe or spread a generous dollop of the cheesecake mixture to form a base ring.
- Carefully place 11 chocolate wafers upright around the perimeter of this cream cheese ring, standing them slightly into the mixture.
- Top each chocolate wafer with another dollop of cheesecake mixture, and then place another chocolate wafer on top.
- Continue this process, building vertically, until you have 5 layers of chocolate wafers, always ending with a final dollop of the creamy cheesecake mixture on the top layer.
- To enhance both aesthetics and stability, pipe an additional inner circle of cheesecake mixture inside the ring of chocolate wafers. Also, add small dollops of mixture between each of the stacked wafers on the outside of the ring. This fills any gaps and secures the structure.
This careful layering creates the signature look and delightful crunch of this particular dessert.
The Freezing Finale: Chill to Perfection
Once assembled, your cheesecake needs time to firm up and reach its decadent potential.
- Gently gather the loose edges of your aluminum foil sling and carefully enclose the entire cheesecake, ensuring the foil doesn’t touch or squish the delicate layers. This protects it during freezing.
- Place the baking sheet with the enclosed cheesecake into the freezer for at least 30 minutes. This is the minimum time needed for it to firm up enough to handle.
- The truly amazing secret? Once well-enclosed, this magnificent creation can remain in the freezer for up to two months! It's the ultimate make-ahead dessert. For more details on long-term storage and serving, check out our guide on Make-Ahead No-Bake Chocolate Wafer Cheesecake: Store & Serve.
When you're ready to serve, simply remove it from the freezer about 15 minutes beforehand to allow it to soften slightly. Unwrap, carefully transfer the top layer of foil (with the cheesecake still on it) to a cake stand or plate, then add fresh berries to the center and a dusting of confectioners' sugar. Voila! An effortless, stunning dessert awaits.
Expert Tips for Your Perfect No Bake Chocolate Wafer Cheesecake
Achieving cheesecake perfection is easier than you think, especially with a no-bake recipe. Here are some extra insights and tips to ensure your
no bake chocolate wafer cheesecake recipe is a resounding success:
- Embrace the Cold: As mentioned, cold cream cheese (initially, then slightly softened for whipping), a cold bowl, and especially cold heavy whipping cream are your best friends. Cold temperatures help the cream whip faster and hold its peaks better, ensuring a stable, fluffy filling.
- Don't Overmix the Cream: Once you add the whipping cream, watch closely. Beat until it reaches firm peaks – stop there! Over-whipping can cause the mixture to become grainy or even separate.
- Quality Wafers Matter: The chocolate wafers are a star here. Choose a brand you enjoy for their flavor and crispness, as they provide both structural integrity and a delightful textural contrast.
- Piping Bag vs. Spoon: While a piping bag offers precision and a neater look, don't let its absence deter you. A spoon or an offset spatula works perfectly for creating the layers. The taste will be just as incredible!
- Garnish with Gusto: Fresh berries (strawberries, raspberries, blueberries) add a burst of color and tartness that beautifully complements the rich chocolate and cream cheese. A dusting of confectioners' sugar adds an elegant finish. Don't stop there – consider chocolate shavings, a drizzle of chocolate syrup, or even a sprig of fresh mint for extra flair.
- Temperature for Serving: While it sets in the freezer, allowing it to thaw for 10-15 minutes before serving ensures the best creamy texture. It should still be firm, but not rock hard.
- Experiment with Flavors: While chocolate wafers are divine, don't be afraid to experiment! You could try vanilla wafers, or even crushed Oreos (as mentioned in our source) for an Oreo cheesecake twist. For more quick and easy variations, explore our Quick & Easy No-Bake Chocolate Wafer Cheesecake Recipe.
This no-bake chocolate wafer cheesecake is more than just a dessert; it’s an experience. It’s the joy of creating something beautiful and delicious without the stress, the delight of a perfectly creamy texture, and the satisfaction of a recipe that truly delivers.
Conclusion
The search for an impressive, yet fuss-free dessert ends here. This
no bake chocolate wafer cheesecake recipe stands as a testament to the fact that elegance and decadence don't always require hours in the kitchen or complex baking techniques. With its rich, creamy filling, delightful chocolate wafer layers, and absolutely no need for an oven, it's a game-changer for anyone who loves cheesecake but not the drama that often comes with it. Whether you're a seasoned baker looking for a quick win or a novice eager to impress, this recipe offers a foolproof path to dessert glory. So, go ahead, gather your ingredients, and prepare to create a truly unforgettable dessert that will become a go-to favorite in your repertoire.